Installing a garden gate is a relatively straightforward process that can be completed with basic tools. Here’s a step-by-step guide on how to install a garden gate:
Materials and Tools You Might Need:
- Garden gate
- Post hole digger or shovel
- Concrete mix
- Level
- Tape measure
- Screws or nails
- Screwdriver or drill
- Gate hardware (hinges, latch)
- Wooden stakes
- String or twine
Steps:
1. Choose the Location:
- Decide where you want to install the gate. Make sure it provides convenient access to your garden and allows for easy movement.
2. Measure the Gate:
- Measure the width of the gate. This measurement will determine the distance between the gateposts.
3. Determine the Gatepost Locations:
- Use wooden stakes and string or twine to mark the locations for the gateposts. The distance between the gateposts should be slightly wider than the width of the gate to allow for clearance.
4. Dig the Post Holes:
- Use a post hole digger or shovel to dig holes for the gateposts. The depth of the holes will depend on the size of your gate and the local frost line. Typically, aim for a depth of at least 2 feet.
- Make sure the holes are deep enough to provide stability.
5. Insert the Gateposts:
- Place the gateposts into the holes. Use a level to ensure they are plumb (vertical) and adjust as necessary.
- If you want added stability, you can pour concrete into the holes around the gateposts. Follow the concrete mix instructions for proper mixing and setting.
6. Secure the Gateposts:
- Allow the concrete to set if you used it. Once set, backfill the holes with soil and tamp it down to secure the gateposts.
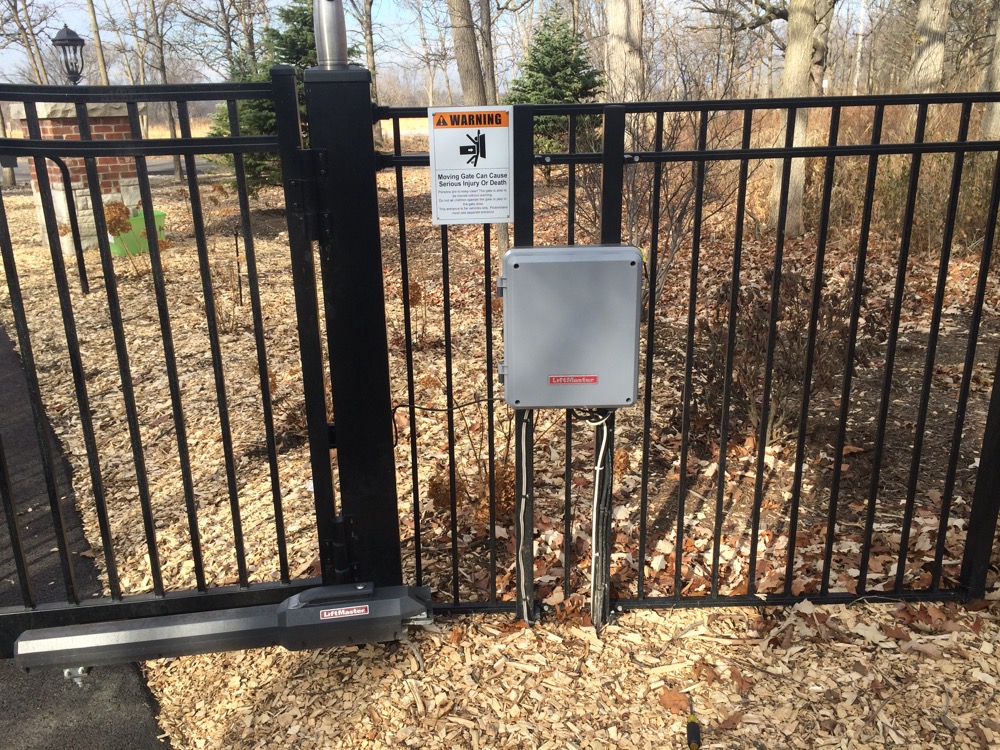
7. Attach the Hinges:
- If your gate comes with hinges, attach them to one side of the gate. Then, attach the other side of the hinges to the gatepost. Use a level to ensure the gate is hanging straight.
8. Install the Gate:
- Lift the gate and place it onto the hinges. Make any necessary adjustments to ensure the gate is level and swings freely.
9. Install the Latch:
- Install the latch on the side of the gate opposite the hinges. Make sure it aligns with the catch on the gatepost. Adjust as needed.
10. Test the Gate:
- Open and close the gate to ensure it operates smoothly. Make any final adjustments as needed.
11. Optional: Finish and Paint:
- If desired, finish and paint the gate to protect it from the elements and enhance its appearance.
Notes:
- Follow any specific instructions provided by the manufacturer of your gate and gate hardware.
- Consider the direction of the swing when installing the gate. Ensure it swings into your property rather than out onto a public sidewalk or street.
- Double-check local building codes and regulations regarding gate installation, especially if the gate is part of a fence or if your property is subject to specific rules.
…Or you can call us and we’ll take care of it for you :)


